Creating a Simple Game Prototype: Your 7-Day Guide
Creating a Simple Game Prototype: From Concept to Playable Demo in 7 Days involves rapidly developing and testing core game mechanics. This process focuses on quickly validating ideas and identifying potential issues before investing extensive resources.
Embarking on game development can feel overwhelming, but it doesn’t have to be. Creating a Simple Game Prototype: From Concept to Playable Demo in 7 Days is an achievable goal. This focused approach allows you to quickly test ideas and validate core mechanics without getting bogged down in unnecessary details.
Ready to see your game idea come to life? Let’s dive into a step-by-step guide that will help you transform your concept into a playable demo within a week.
Day 1: Brainstorming and Concept Definition
The first day is all about solidifying your game’s core vision. Creating a Simple Game Prototype: From Concept to Playable Demo in 7 Days begins with a well-defined idea. This stage involves brainstorming, outlining key mechanics, and defining the scope of your prototype.
Defining Your Core Mechanics
What makes your game unique? Identify the core mechanics that will drive the gameplay. These mechanics should be simple enough to implement quickly but engaging enough to capture the essence of the final product.
- Identify the primary player action (e.g., jumping, shooting, building).
- Define the core loop of the game (e.g., explore, collect, upgrade).
- Determine the main challenge or objective for the player.
Consider simplifying complex ideas to their most basic components. For example, instead of a complex inventory system, focus on a single collectible item that alters the gameplay in a significant way.
Day 2: Choosing Your Development Tools
Selecting the right tools can significantly impact your development speed. Creating a Simple Game Prototype: From Concept to Playable Demo in 7 Days requires efficient and user-friendly software. Choose tools that you are already familiar with or that have a shallow learning curve.
Popular Game Engines for Prototyping
Game engines provide a framework for building your game, handling tasks like rendering, physics, and input management. Some popular options include:
- Unity: A versatile engine with a large community and extensive resources.
- Godot Engine: An open-source engine known for its ease of use and 2D capabilities.
- GameMaker Studio 2: An intuitive engine specifically designed for 2D games.
Consider using pre-made assets and templates to accelerate the development process. Many asset stores offer free or low-cost resources that can save you time and effort.
Day 3: Building the Basic Game World
With your tools selected, it’s time to create the foundation of your game world. Creating a Simple Game Prototype: From Concept to Playable Demo in 7 Days involves constructing a basic environment and implementing essential player movement.
Implementing Player Movement
The player’s ability to move and interact with the world is crucial. Implement simple movement controls that are responsive and intuitive.
Focus on basic movement mechanics like walking, jumping, or flying. Avoid adding complex animations or special abilities at this stage.
Add collision detection to prevent the player from walking through walls or falling out of the world. Use simple box colliders or capsule colliders for quick implementation.
Day 4: Implementing a Simple Game Prototype: Core Mechanics
Now, focus on implementing the core mechanics that define your game. This is where your prototype starts to take shape. Creating a Simple Game Prototype: From Concept to Playable Demo in 7 Days hinges on how well these mechanics are implemented.
Adding Core Challenges and Objectives
To make your game engaging, introduce challenges and objectives that align with your core mechanics:
- Implement a simple scoring system.
- Add basic enemy AI.
- Introduce a win/lose condition.
Remember, the goal is to create a playable demo, not a fully polished game. Focus on the core experience and leave the refinements for later.
Day 5: User Interface (UI) and Feedback
A clear and informative UI is essential for guiding the player and providing feedback. Creating a Simple Game Prototype: From Concept to Playable Demo in 7 Days requires you to implement a user interface to help the player. Even a basic UI can significantly enhance the player experience.
Providing Player Feedback
Players need to understand what is happening in the game and how their actions impact the world. Implement visual and auditory feedback to communicate important information:
Use simple text overlays to display scores, health, or progress.
Play sound effects when the player performs an action, such as jumping, shooting, or collecting an item.
Add visual cues to indicate damage, such as flashing the player’s character or playing a particle effect.
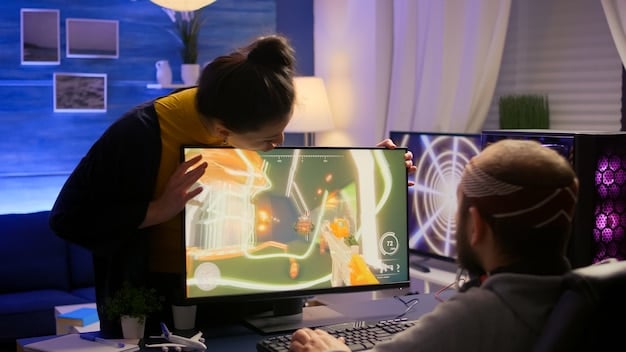
Day 6: Testing and Iteration
Testing is a crucial step in the development process. Creating a Simple Game Prototype: From Concept to Playable Demo in 7 Days isn’t complete until you’ve tested it and iterated based on the results. Gather feedback from other players and identify areas for improvement.
Ask friends or colleagues to play your prototype and provide honest feedback. Observe how they interact with the game and identify any areas where they struggle or become confused.
Use the feedback to refine your game mechanics, UI, and overall player experience. Focus on addressing the most critical issues first.
Day 7: Polishing and Presentation
The final day is about polishing your prototype and preparing it for presentation. While Creating a Simple Game Prototype: From Concept to Playable Demo in 7 Days isn’t about perfection, a little polish can go a long way.
Preparing Your Prototype for Presentation
Consider creating a short video or presentation to showcase your prototype. Highlight the core mechanics, challenges, and overall player experience.
Prepare a brief explanation of your design decisions and the feedback you received during testing. This will help others understand your vision and the iterative process you followed.
| Key Point | Brief Description |
|---|---|
| 💡 Concept Definition | Solidify your game’s core vision. |
| 🛠️ Tool Selection | Choose efficient game development software. |
| 🎮 Core Mechanics | Focus on easy to implement core game features. |
| 🧪 Testing and Iteration | Gather feedback and address critical issues. |
Frequently Asked Questions
It allows you to quickly validate your game idea, test core mechanics, and identify potential problems before investing significant time and resources. This iterative approach helps refine your vision early on.
Popular options include Unity, known for its versatility and large community; Godot Engine, praised for its ease of use, especially for 2D games; and GameMaker Studio 2, which offers an intuitive environment for 2D game development.
Focus on the core mechanics and features of your game, and eliminate unnecessary complexity. Use pre-made assets, templates, and simple art styles to speed up the development.
Look for feedback on the game’s core mechanics, user interface, and overall player experience. Identify areas where players struggle or become confused, and prioritize addressing those issues first.
Showcase the core mechanics, challenges, and player experience. Explain your design decisions and any feedback you received during testing, highlighting how you iterated on your initial concept to refine the game.
Conclusion
By following this 7-day guide, you can successfully transform your game concept into a playable demo. Creating a Simple Game Prototype: From Concept to Playable Demo in 7 Days is a valuable exercise for testing ideas and gaining insights into the development process.
Remember to focus on the core mechanics, iterate based on feedback, and don’t be afraid to simplify your vision. With dedication and the right tools, you can bring your game idea to life in just one week.

")


